For a few years now I have wanted to build a bartop arcade machine using a Raspberry Pi. Online you can find many posts of people who embarked on this journey before me, and some end results are truly amazing. While I do have experience with the technical aspect involved (Raspberry Pi and RetroPie), I have absolutely none when it comes to woodworking, planning, or anything involving actual tools.
Tag along and follow me in this journey from idea to execution. Let’s see if someone who is good at IT but terrible at working with tools is able to learn everything required to make this build. Hopefully this inspires others out there to do the same, I am enjoying the process so far!
This is part 1 of a multi-post series. Let’s build an arcade!
A shipment from China has arrived
There is one thing every arcade needs: controls! Okay actually there’s two things needed, a screen would be useful too.
On AliExpress you can get an entire set of controls for a very good price. I opted for these in the 2 player red/blue variant. The nice thing is that everything is included that you need: buttons, joysticks, cabling, LEDs and two controllers. More on these later.
After a week of waiting the shipment finally arrived. I was a bit surprised to find that the buttons also need to be assembled. A fully assembled button contains the following items:
- The button itself
- Mechanical switch
- LED
- A plastic housing that keeps everything together and provides connections for the LED
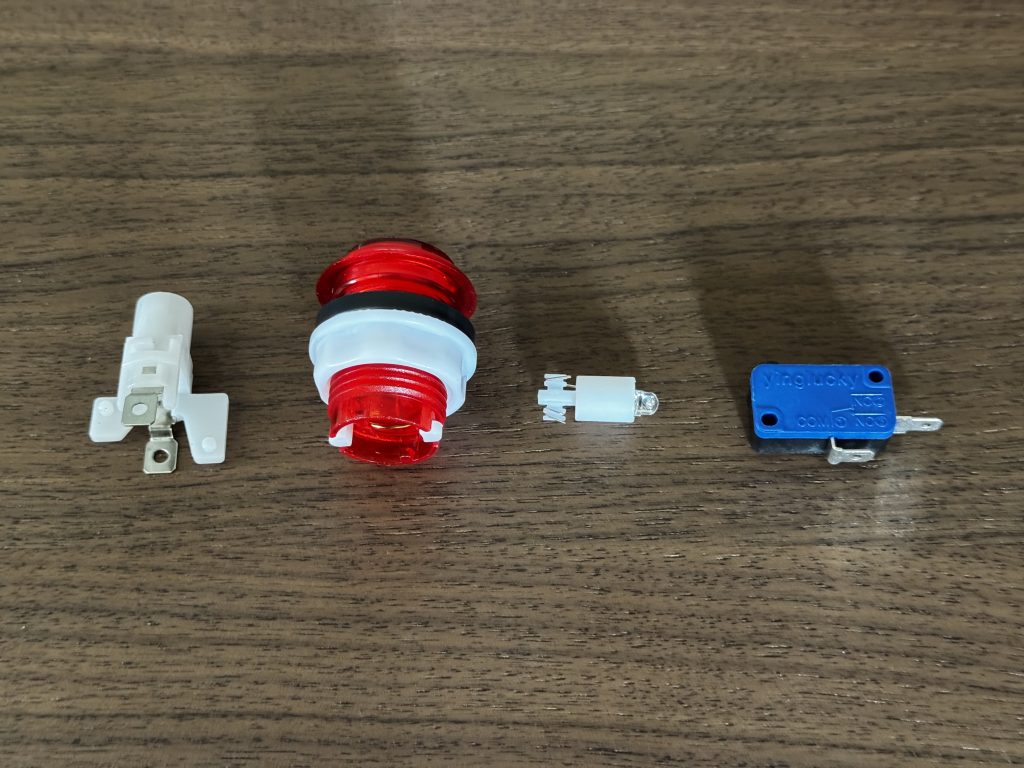
To assemble the button I started by attaching the plastic housing to the mechanical switch. The housing has two small circular sections that pop out a little bit and fit on the switch, quite some force is required to snap it correctly in place. After that, I inserted the LED in the top of the housing. To finalize assembling the button, you rotate the housing into the button. The housing has a small inlet on both sides in which the inner component of the button slides in.
When you press the button, the white pieces at the bottom extend downwards. The switch has a small black button on top which is pressed down. This registers the click.
Testing the wiring
After assembling a few buttons I decided to wire everything up to the controller. The mechanical switches each have their own cable that attaches to the controller, the LEDs have one giant power wire linked in series.
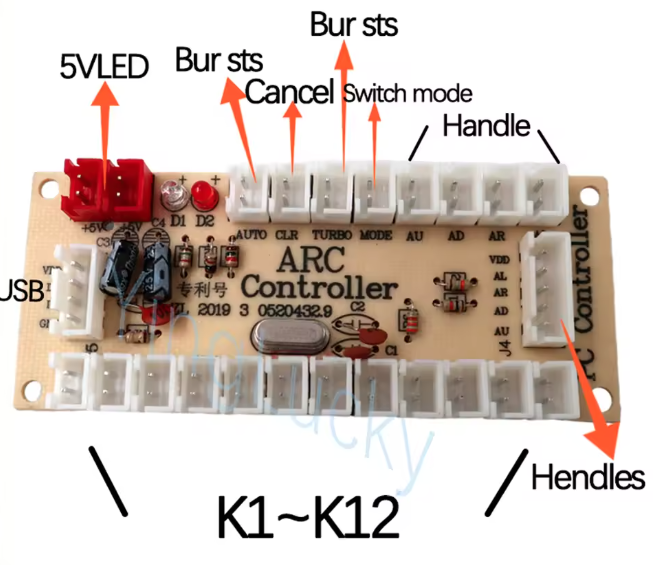
Connecting to the controller is pretty straight forward when you follow the diagram on the AliExpress page. The LED power cable gets attached to one of the red connectors on the controller, the buttons get connected to the K1 to K12 ports and the USB cable goes into the USB connector.
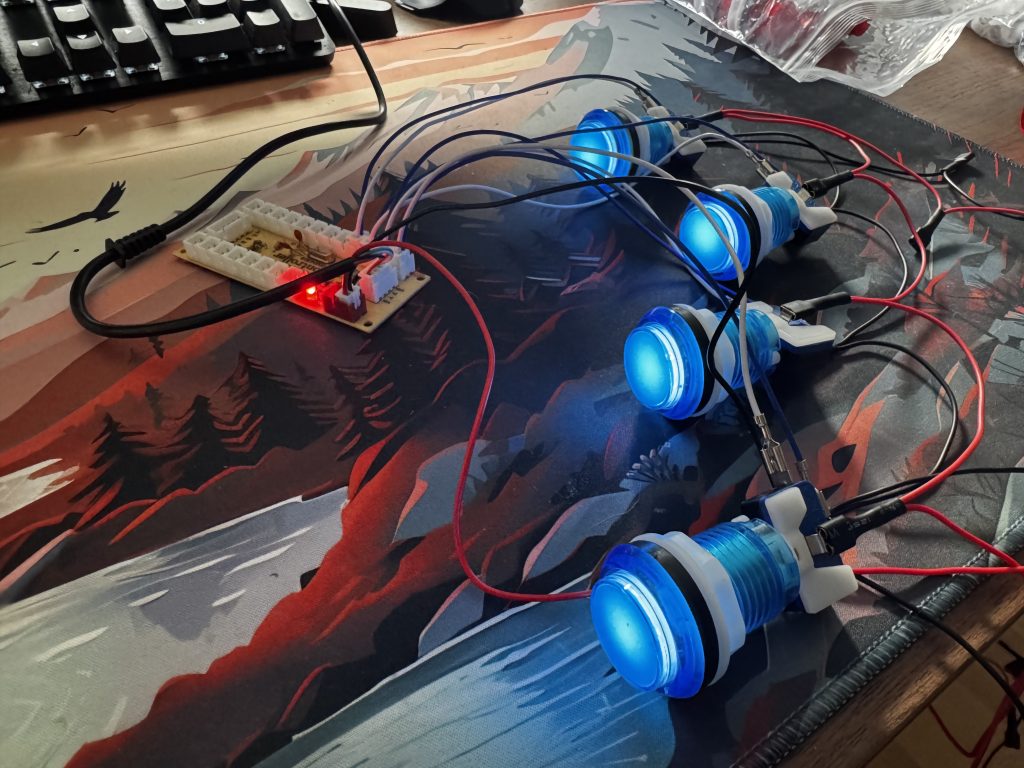
To keep everything consistent, I attached the blue button wire to the side of the switch and the black wire to the bottom.
With everything attached and the controller connected via USB to a Raspberry Pi, the buttons spring to life with the LEDs turned on!
Getting some wood
With the technical side mapped out a bit and knowing how everything is supposed to be wired up, now came the hard part involving wood (no pun intended). Instead of immediately attempting to build the arcade I wanted to perform a test first. In this test I wanted to discover the ideal button layout and experiment a bit with securing everything in place. Especially the joysticks, because when playing they need to be properly secured.
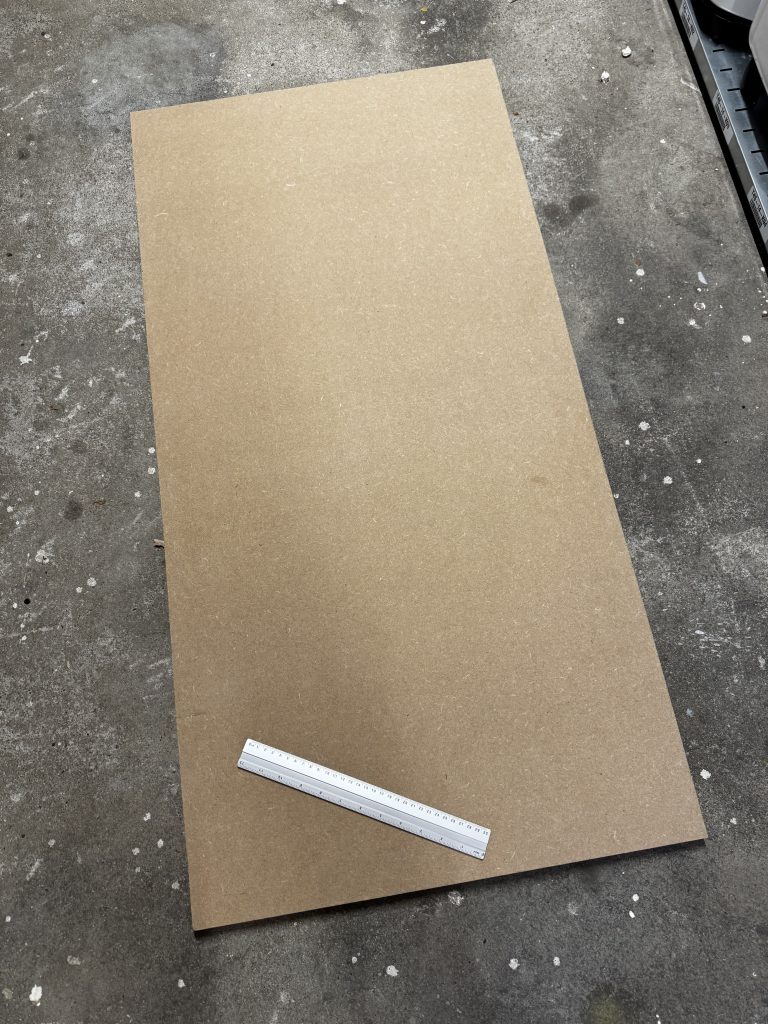
I went to my local hardware store and got an 18 millimeters thick piece of MDF wood. I do not remember the exact dimensions but they were in the range of 1.44 meters by 70 centimeters. While at the store I also bought a hole saw with dimensions from 25mm to 63mm.
After measuring out a small section to cut and use for testing the button layout it was time to get my hands dirty.
Creating a button layout prototype
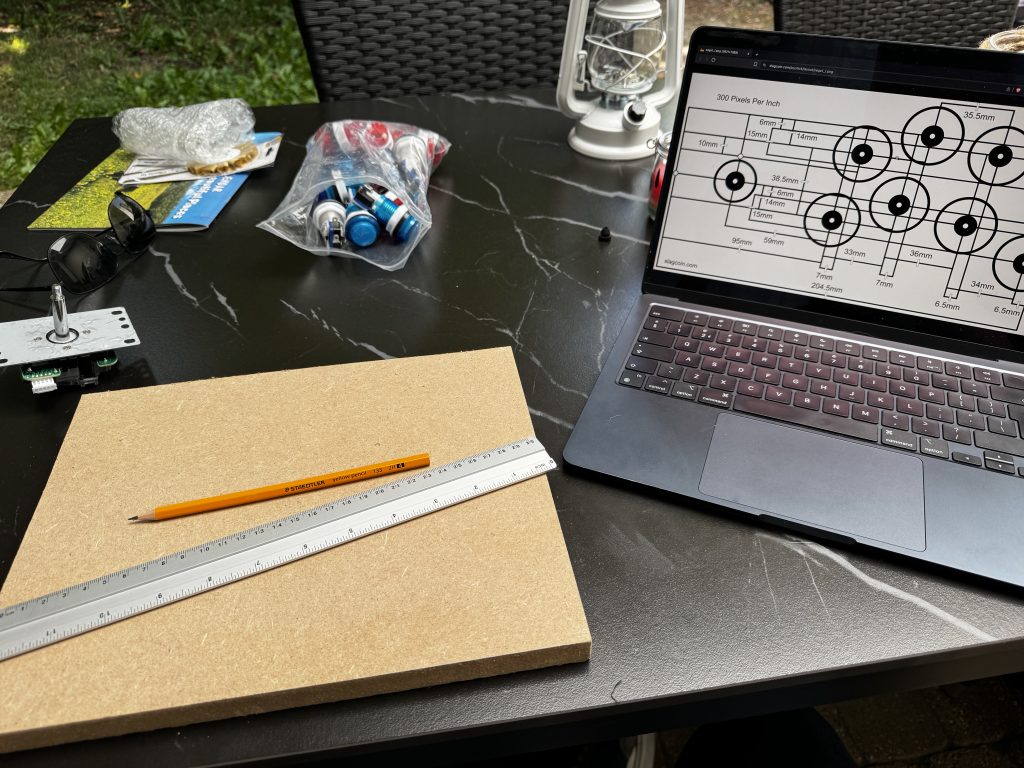
I found an amazing website that has some extreme in-depth analysis into the ideal button layout. As an added bonus you can download a variety of templates from this website containing layouts. The one that stood out the most to me is the standard Japanese arcade layout, so this is the one I decided to use for the prototype.
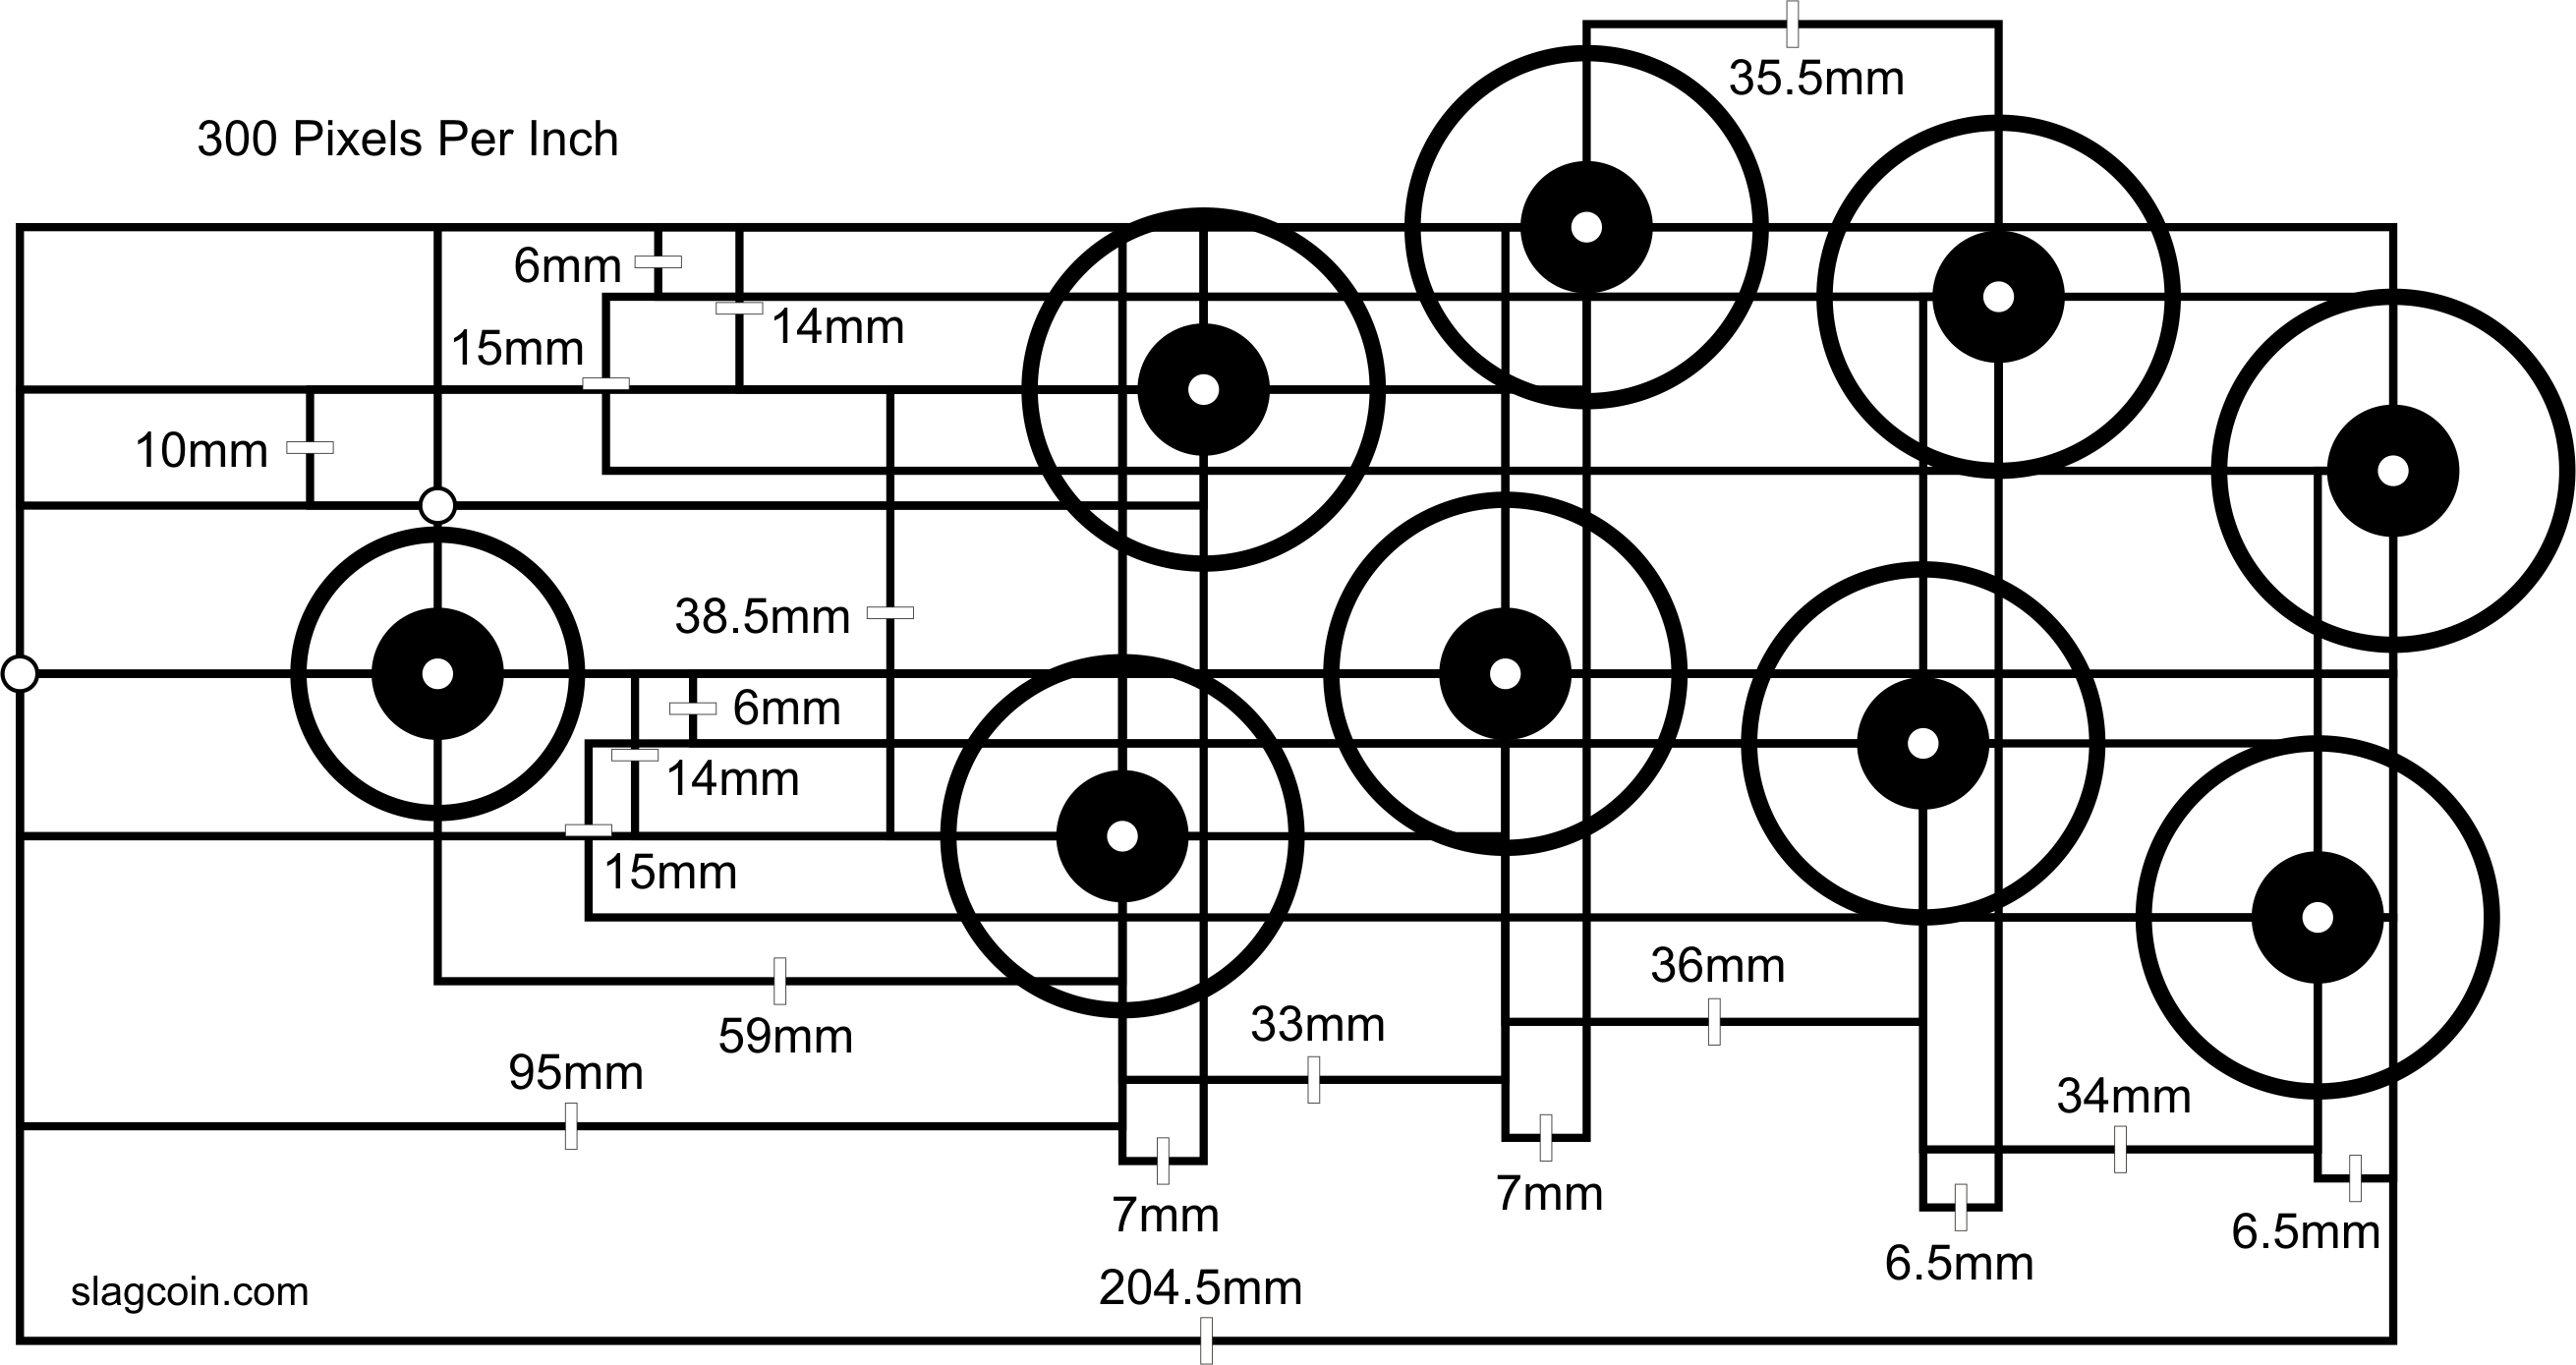
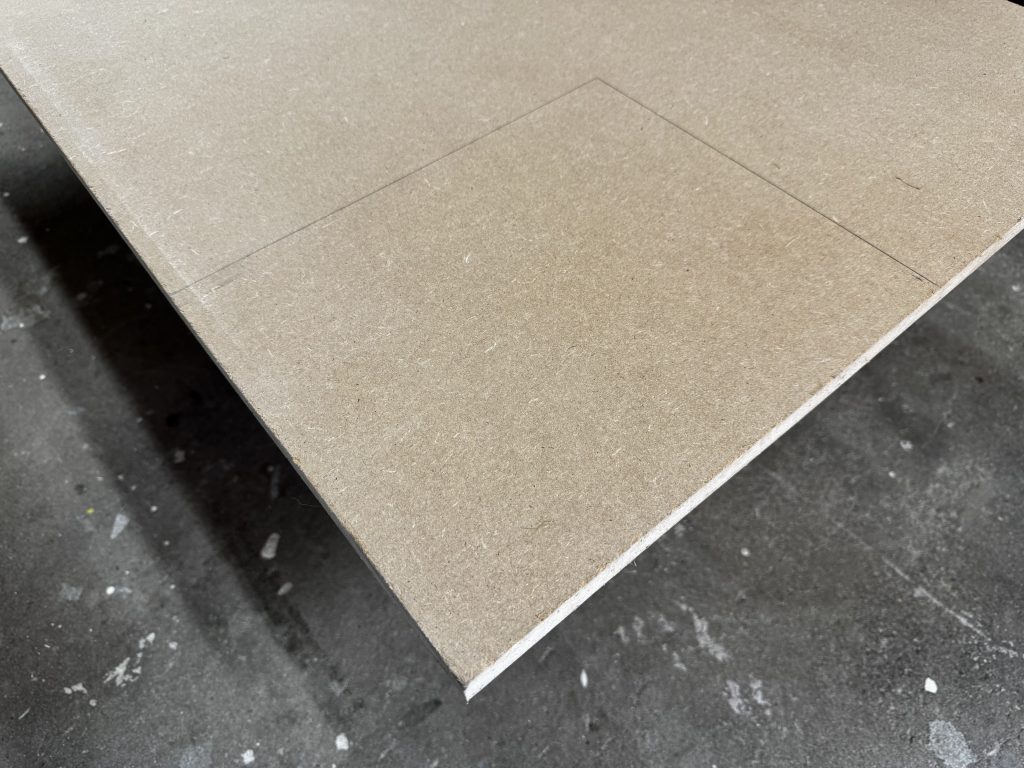
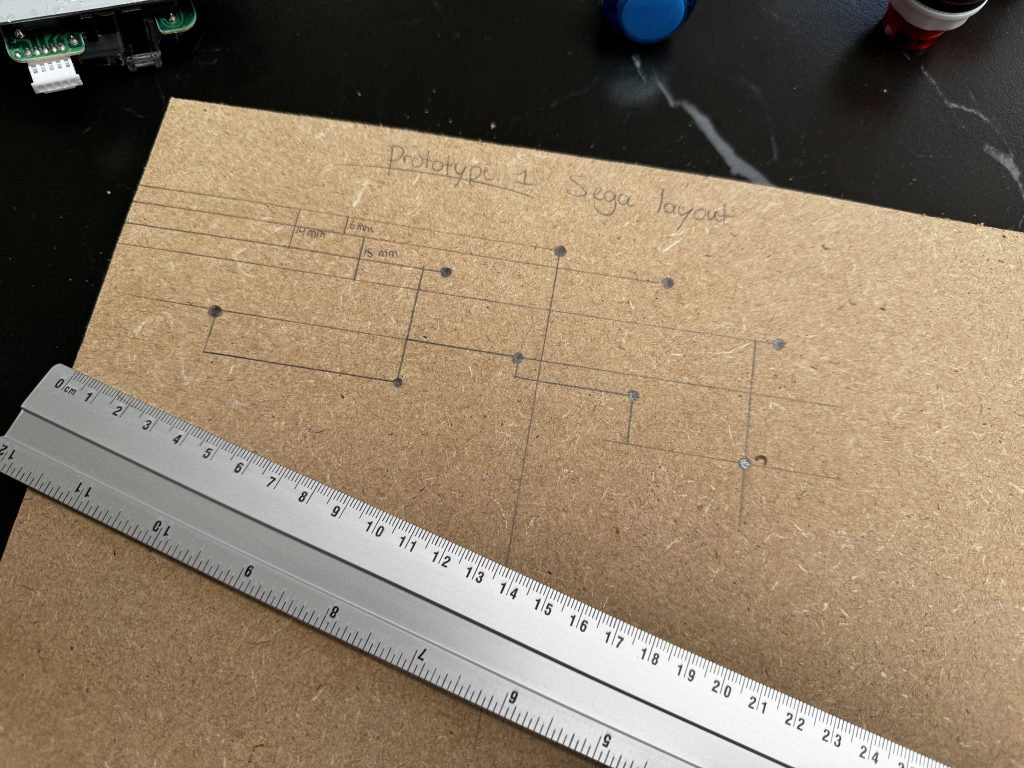
Because we recently moved house and our printer is still in a moving box somewhere (and I also was a bit lazy and did not want to search for it), I manually drew the dimensions and distances on the cut out piece. This took quite some work but at least it was fun and relaxing to do.
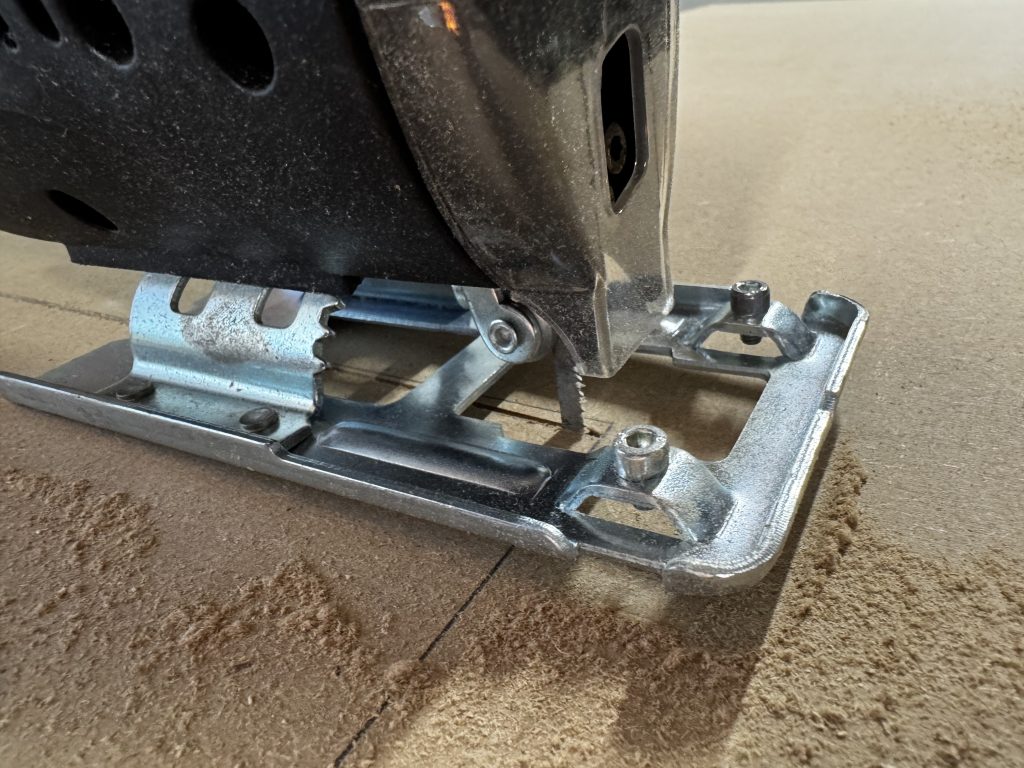
After finishing up the drawing it was time to do the actual sawing. The hole saw gets attached to a power drill/saw, and you align the drill in the middle with the drawn holes.
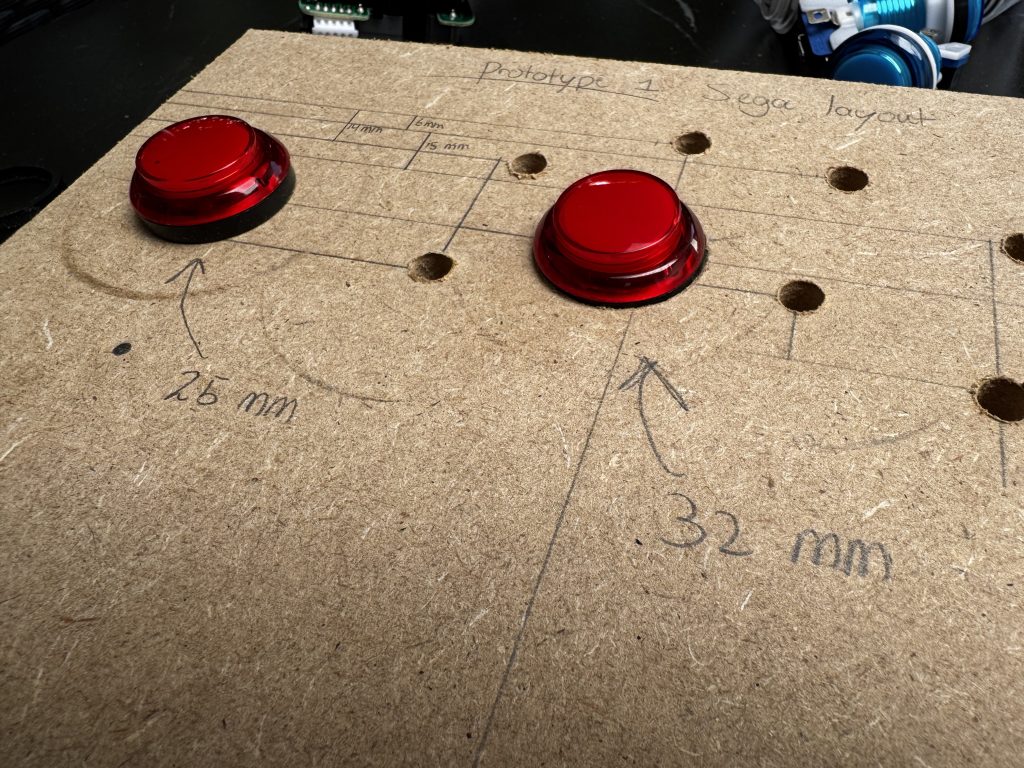
I was unsure if I should use the 25mm or 32mm drill. I measured a button using a tapeline and the results came in at 30mm. It turns out this was a bit off…
I sawed one 32mm hole and one 25mm hole and then attached the buttons. It became pretty clear that the 32mm hole was too big and the 25mm hole was perfect. The black plastic ring slid into the 32mm hole and the button is not perfectly straight, as can be seen in the picture below.
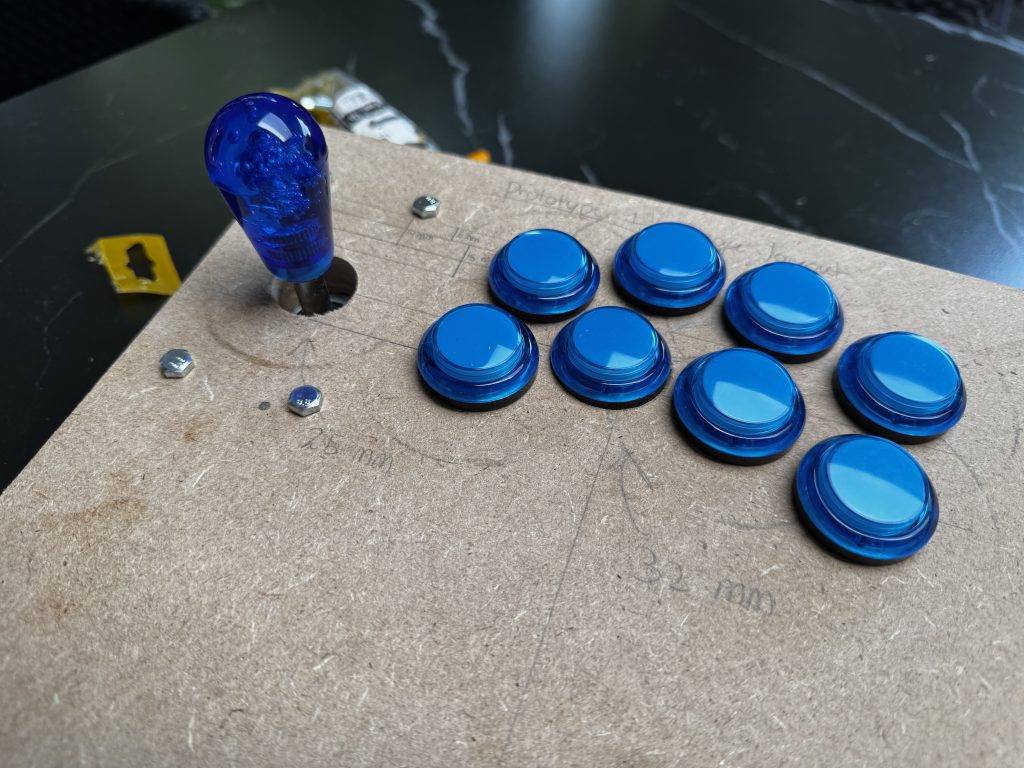
After this small letdown I could start all over again, but I decided not to because the button is secure in place and it is only a prototype. But it is a learning moment for sure. I continued sawing the other holes (all 25mm this time) and the finished result looks like this.

To attach the joystick I put the joystick through the hole and drew a circle where the screw holes are in the frame of the joystick. I then drilled those holes using a standard power drill and attached the joystick using some bolts.
The bolts are the perfect size and they really secure the joystick in place, but I am not sure yet if I want to use this in the final build. I also found out that 18mm is a bit too thick for the joystick, as a lot of the shaft becomes hidden under the MDF and it looks a bit strange. Perhaps on the final build I should decrease the thickness of the MDF where the joysticks are attached, but I don’t know how this will affect how much force the joysticks can take before ripping through MDF.
After attaching both the joystick and all buttons, the final result looks pretty nice.
Play testing!
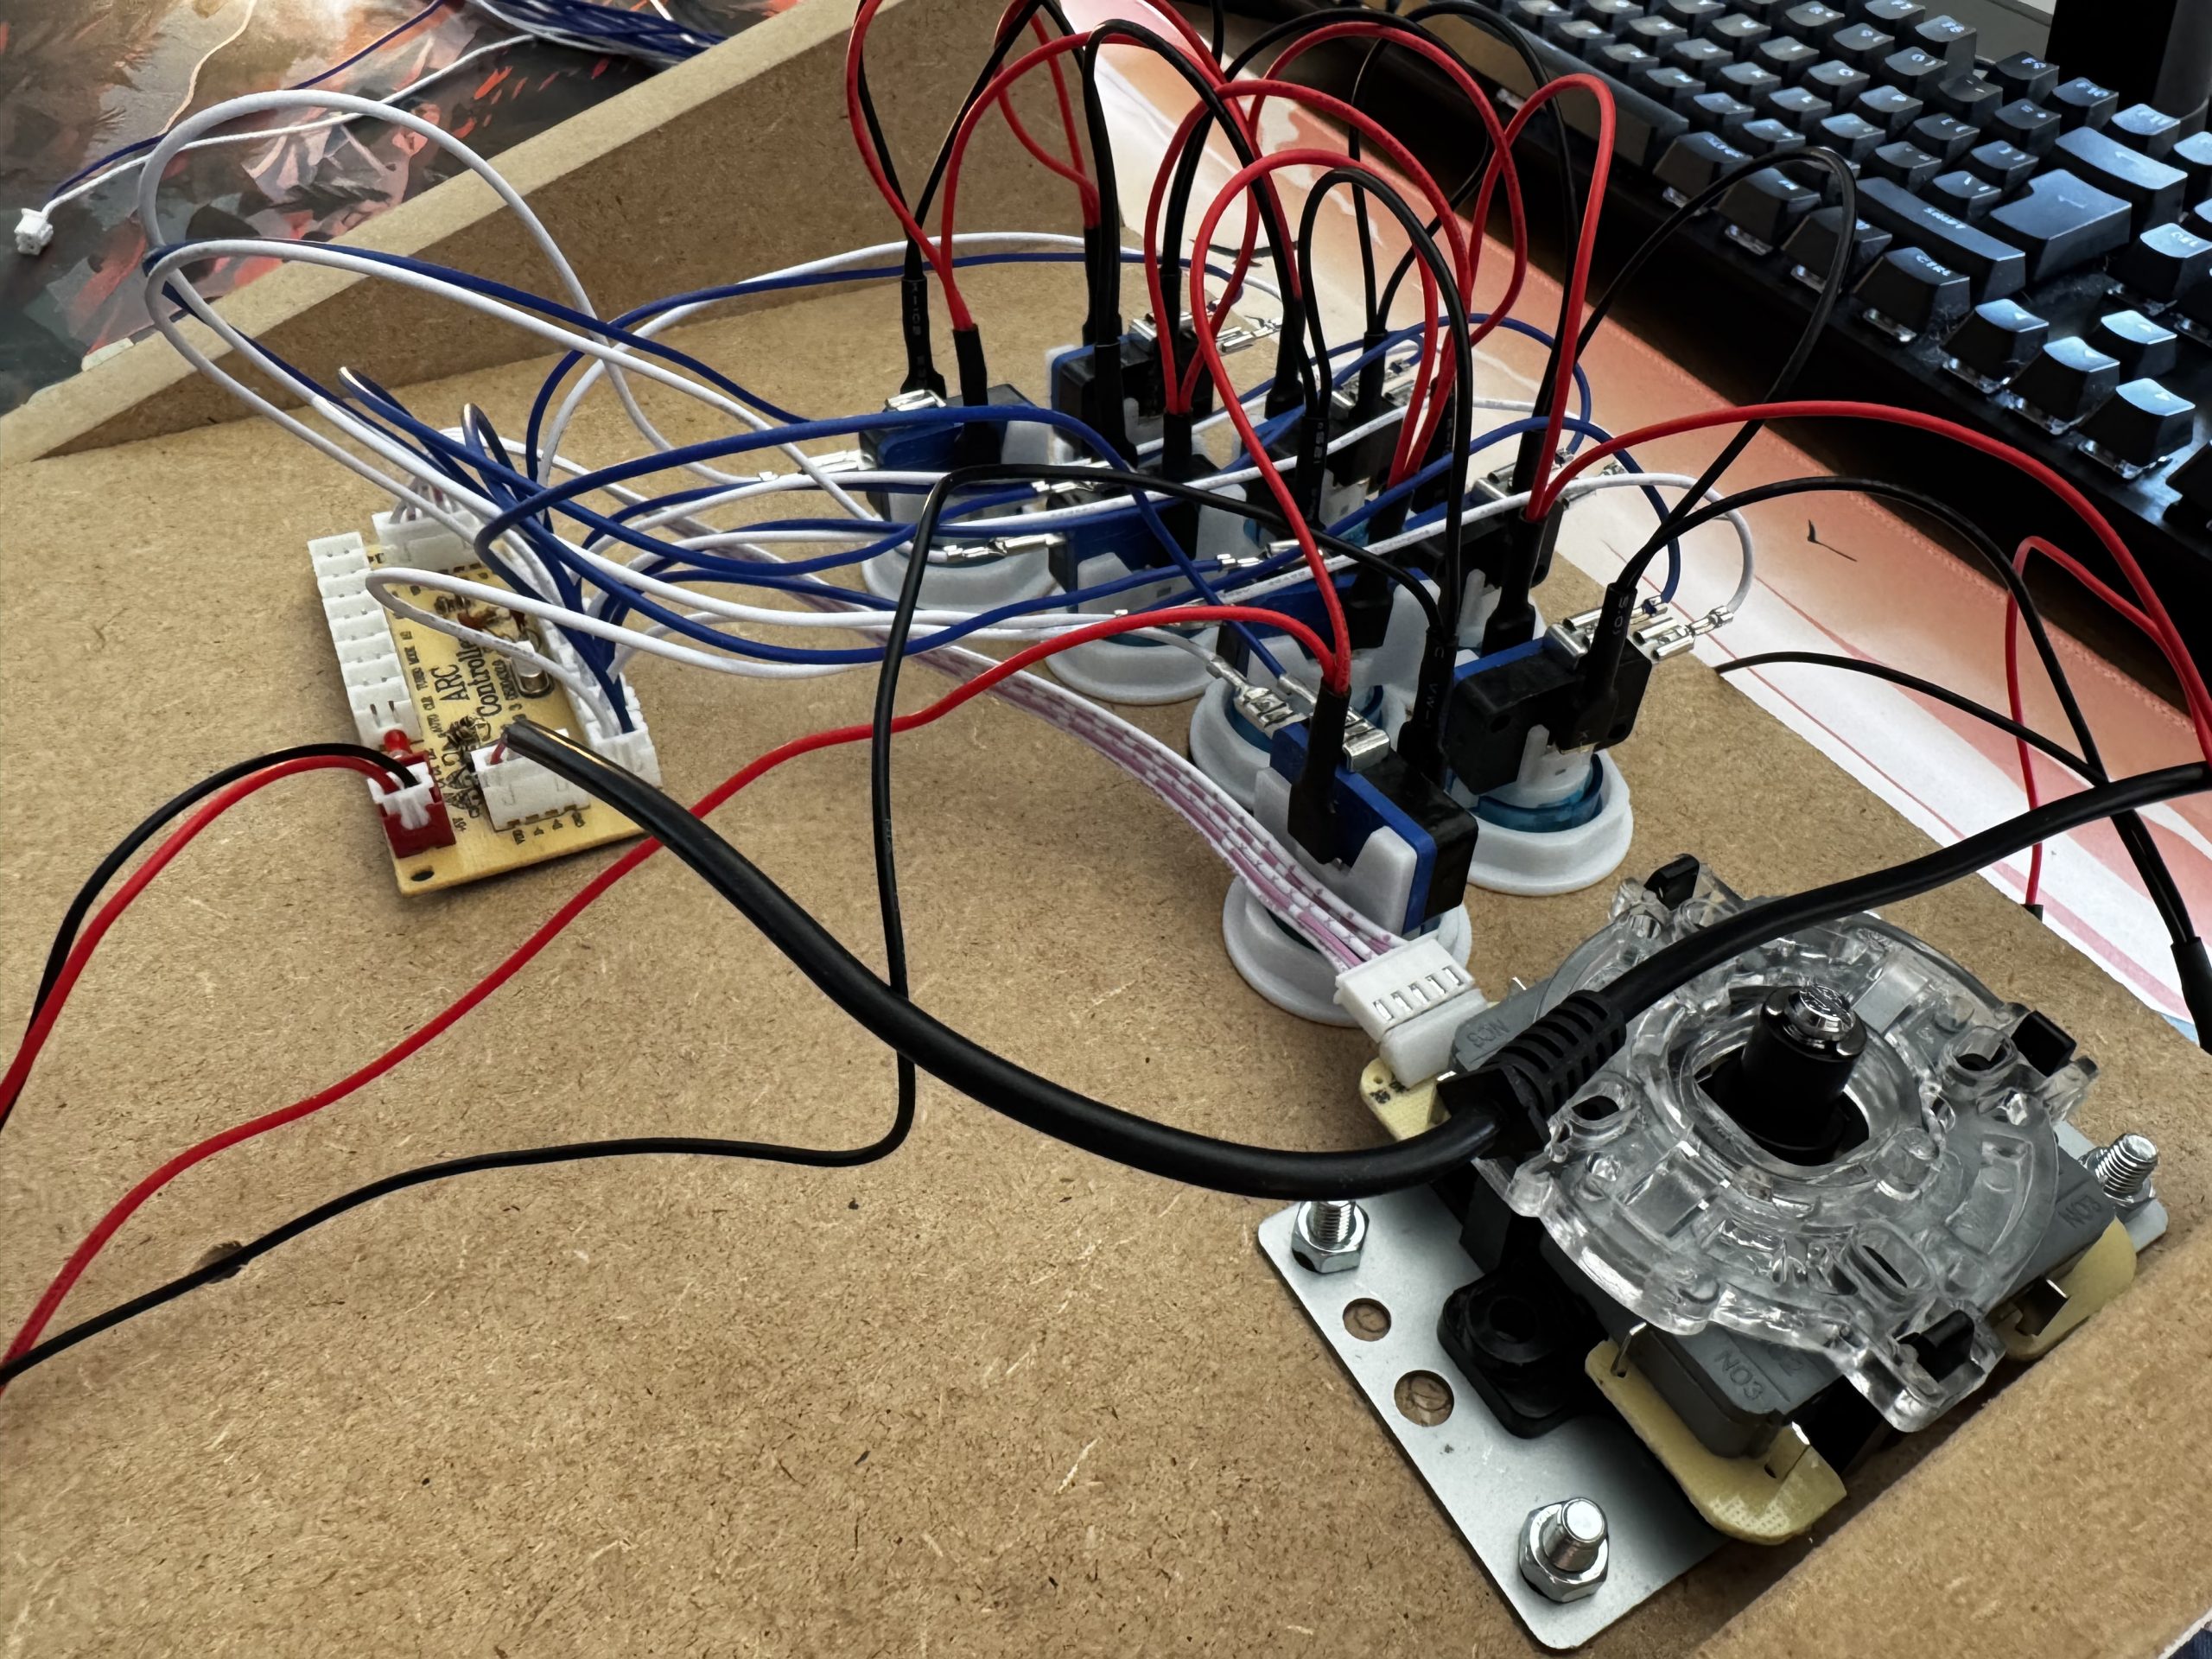
To finalize the prototype stage I of course needed to test the layout in a game. I already have the RetroPie prepared with some old Atari games, so the only remaining thing that needed to be done before being able to play test is connecting all the buttons and joystick to the controller.
This resulted in quite a cable mess because I do not have the controller attached to the wood yet, but it is a prototype anyway so some messiness is to be expected.

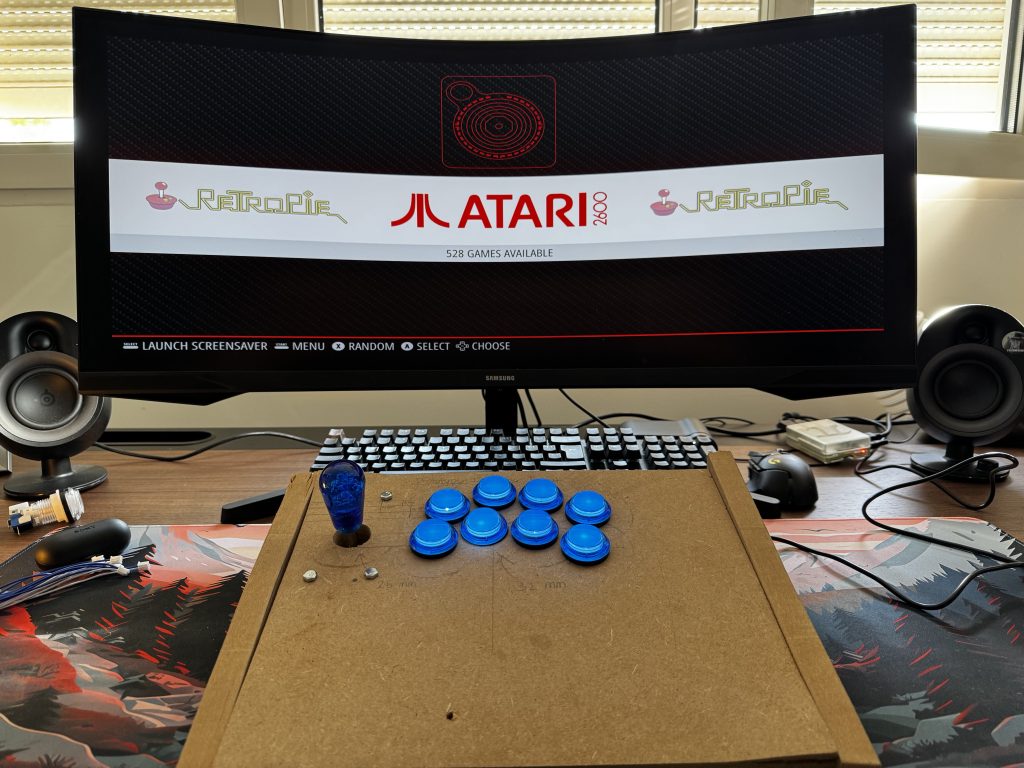
Overall, the layout feels really natural and good so I will stick to this layout in the final build.
Next steps
And this is the current state of the arcade project. I have no idea how to continue yet, but I think it involves measuring the screen I intend to use for the final build and working my way outwards from there. I also probably need to make some design, no idea how yet, but I will figure it out.
I hope you’ve enjoyed reading this first blog post, the next one will hopefully follow soon!
No responses yet