
A few months ago my SO and I bought our first house. Before the house we lived in a rented apartment and our wifi network was powered by a singular Unifi U6 Lite access point. A house has more floor space than an apartment (3 floors and a garden, versus one floor) so I knew I needed to expand the coverage of our Unifi network.
To fully customize a Unifi network, you need to run a piece of software called the Unifi Network Application. This application is built-in in some Unifi devices like the Cloud Gateway Ultra. It is however also possible to self-host the application as a Docker container.
Since I do not have a Unifi device that hosts the application (yet) I opted to self-host. This guide explains how to install and configure the Unifi Network Application as Docker container using the LinuxServer container.
Prerequisites
Before following this guide, ensure you have:
- One or more Unifi devices (access points, switches)
- A server or computer running Linux (or any other operating system supported by Docker)
- A Unifi account – create one by clicking here if you do not have one yet
- Docker and Docker Compose installed
Creating the Docker Compose file
The Unifi Network Application Docker container created by the lovely LinuxServer folks requires an external MongoDB database to function. In this section we will create all the required files enabling us to start the entire stack (MongoDB database and Unifi application) from a single Docker Compose file.
We start by creating a Shell script file which initiates the MongoDB database with variables we will later provide in the Compose file. I named this script init-mongo.sh and saved it in the /opt/mongodb/ directory. Copy and paste the below script in its entirety, do not perform any modifications.
#!/bin/bash

if which mongosh > /dev/null 2>&1; then
  mongo_init_bin='mongosh'
else
  mongo_init_bin='mongo'
fi
"${mongo_init_bin}" <<EOF
use ${MONGO_AUTHSOURCE}
db.auth("${MONGO_INITDB_ROOT_USERNAME}", "${MONGO_INITDB_ROOT_PASSWORD}")
db.createUser({
  user: "${MONGO_USER}",
  pwd: "${MONGO_PASS}",
  roles: [
    { db: "${MONGO_DBNAME}", role: "dbOwner" },
    { db: "${MONGO_DBNAME}_stat", role: "dbOwner" },
    { db: "${MONGO_DBNAME}_audit", role: "dbOwner" }
  ]
})
EOF
Next, create a new directory for the Docker Compose file (I used /opt/unifi/). Within this directory create the Compose file compose.yaml and add the following content:
services:
  unifi-db:
    image: docker.io/mongo:4.1
    container_name: unifi-db
    environment:
      - MONGO_INITDB_ROOT_USERNAME=root
      - MONGO_INITDB_ROOT_PASSWORD=rootpassword
      - MONGO_USER=unifi
      - MONGO_PASS=unifi
      - MONGO_DBNAME=unifi
      - MONGO_AUTHSOURCE=admin
    volumes:
      - /data/unifi/db:/data/db
      - /opt/mongodb/init-mongo.sh:/docker-entrypoint-initdb.d/init-mongo.sh:ro
    restart: unless-stopped
  unifi-network-application:
    image: lscr.io/linuxserver/unifi-network-application:latest
    container_name: unifi-network-application
    environment:
      - PUID=1000
      - PGID=1000
      - TZ=Europe/Amsterdam
      - MONGO_USER=unifi
      - MONGO_PASS=unifi
      - MONGO_HOST=unifi-db
      - MONGO_PORT=27017
      - MONGO_DBNAME=unifi
      - MONGO_AUTHSOURCE=admin
      - MEM_LIMIT=1024 #optional
      - MEM_STARTUP=1024 #optional
      - MONGO_TLS= #optional
    volumes:
      - /data/unifi/app:/config
    ports:
      - 8443:8443
      - 3478:3478/udp
      - 10001:10001/udp
      - 8080:8080
      - 1900:1900/udp #optional
      - 8843:8843 #optional
      - 8880:8880 #optional
      - 6789:6789 #optional
      - 5514:5514/udp #optional
    restart: unless-stopped
This is a fairly standard Compose file where we specify that two containers, unifi-db and unifi-network-application, should be created. On line 14 we create a volume mount between the MongoDB script we created earlier to docker-entrypoint-initdb.d. This is a special directory and any shell scripts (or .sql files) located within this directory will be executed when a container is started for the first time.
On line 13 another volume mount is created and used to store MongoDB data. This directory should exist on the host system, I used /data/unifi/db/.
If you want you can change the MongoDB credentials (root user/password and database user/password) to any value you like. If you change these values be sure to change them under the unifi-network-application section too, otherwise the Unifi container will not be able to access the MongoDB database.
Starting the containers
From the /opt/unifi/ directory, start all containers by initiating the Docker Compose file:
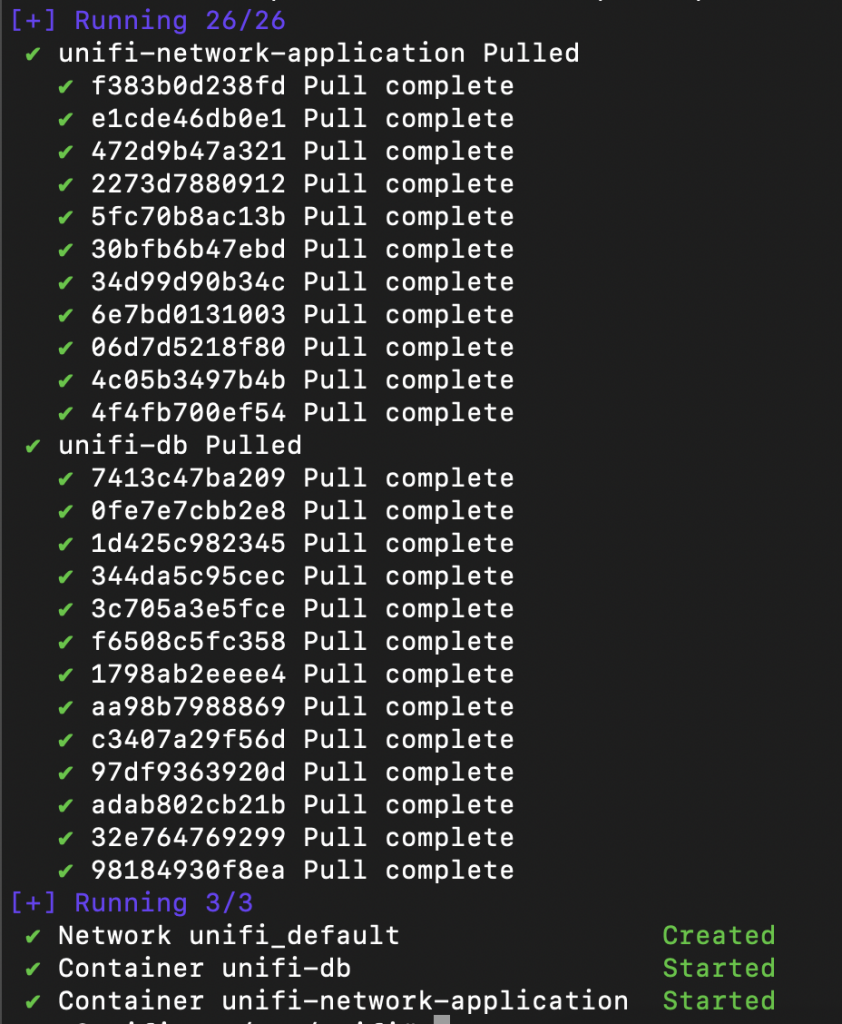
sudo docker compose up -dDocker will begin pulling the required images and start both containers using values provided in the Compose file.
After a few minutes, verify the containers are successfully started through sudo docker ps. You should see both containers in the output of the command.

Accessing the web interface
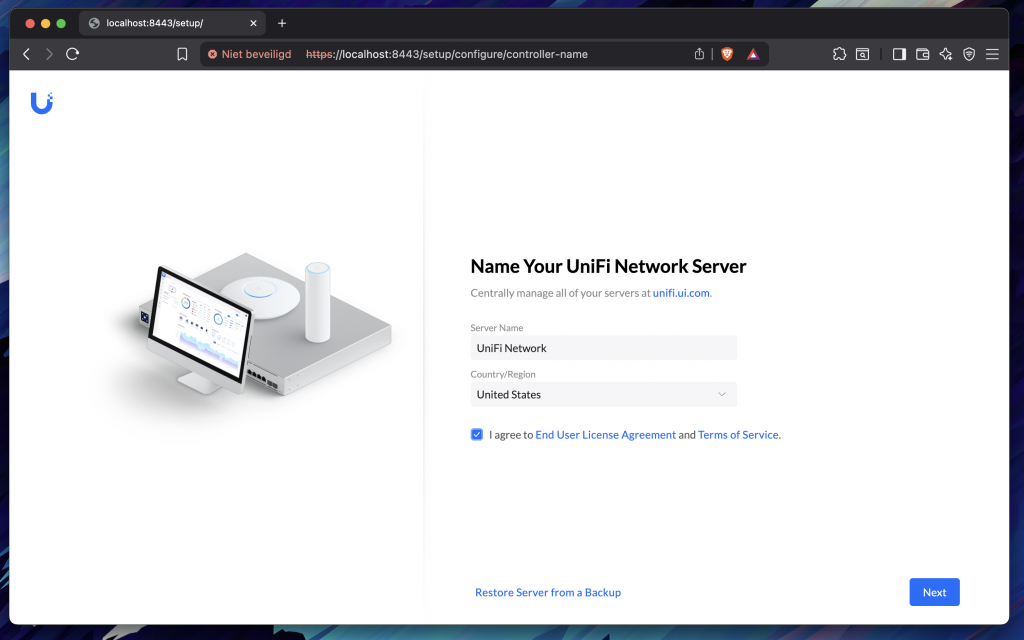
Open your favorite web browser and navigate to https://<server-ip>:8443. Follow the steps to setup the Unifi controller. During the setup you name your Unifi network and connect the controller to your Unifi account.
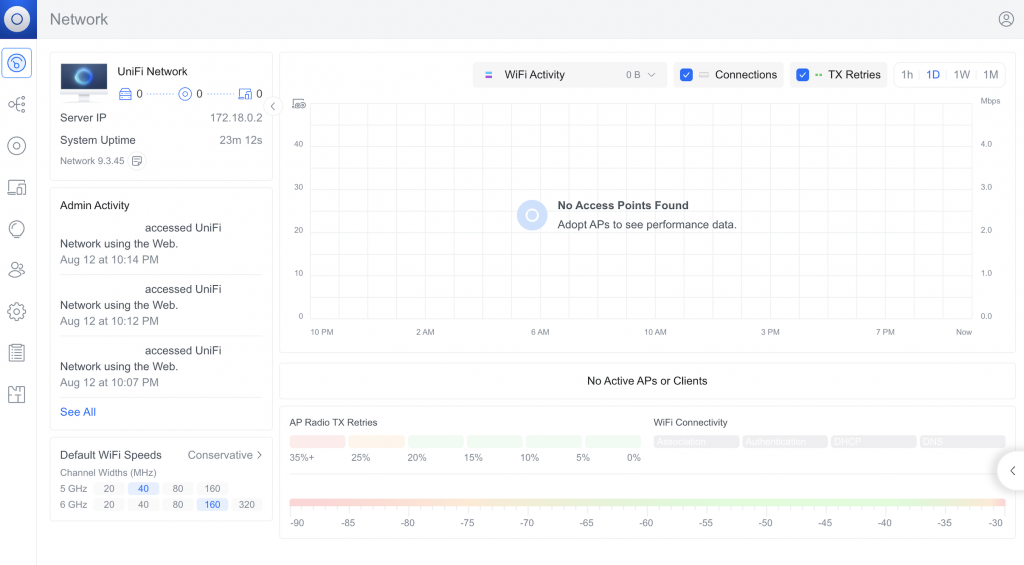
After the Unifi setup is complete you will land on the main Unifi page.
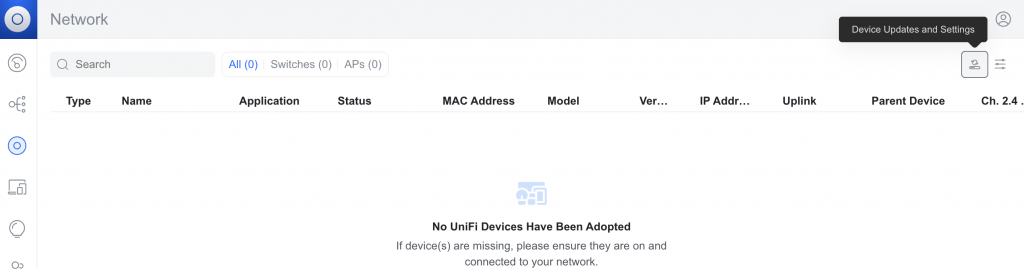
Before finalizing the installation of the Unifi Network Application there is one more step we need to do. Unifi devices become adopted when they communicate to the Unifi application. This connection is IP-based and the application advertises the internal Docker IP (172.17.0.0/16 range by default) as callback address. Because the internal Docker IP is not accessible from outside the Docker network, we need to adjust this address to the IP address of the server/computer where Docker runs.
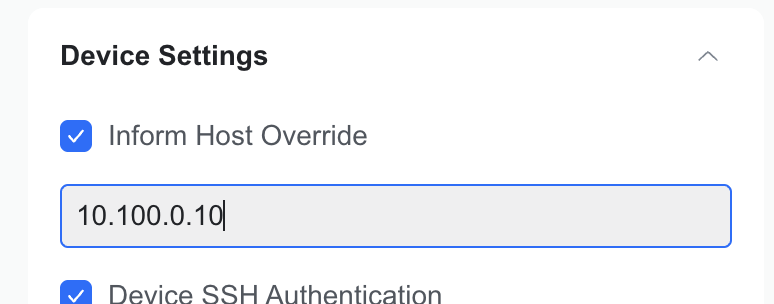
To change this setting, in the web interface go to Settings -> System -> Advanced and change the Inform Host option to “Override”, and enter the IP address of the server where the Unifi application runs.
In newer versions of the Unifi application this setting has been moved to UniFi Devices -> Device Updates and Settings (small button in the top right corner).
After applying this setting you are now ready to start adopting Unifi devices and creating your awesome network setup. Good luck and have fun!
One response
Absolutely amazing write up!! I followed it step by step to setup my Unifi network as a docker container on Unraid. Worked perfectly. Thank you for the great job!!!